There is nothing more satisfying than a Saturday morning well spent, and in our opinion, it’s a double win if you can work in interior design! Like most of us, our clients always have a laundry list of small home improvement projects running in the back of their minds, and last weekend we tackled one of those projects for a client craving a master bed room refresh.
Our client wanted to open up her master bedroom and take advantage of the natural light that flows through her shutters every morning, and we couldn’t agree with that more!
One of the primary focal points of the room was a built in canopy with short, heavy drapery. While this was in style when it was installed, the canopy now seems chunky and out of place.
Since she is inspired by clean and classic home decor, we decided the best way to achieve her airy bedroom vision was to add a touch of elegance with traditional crown molding and nixing the canopy altogether.
Crown molding is a fabulous way to add interest to a wall while still keeping it as a blank canvas for family portraits, a gallery wall, or in the case of this home, a well traveled and eclectic art collection.
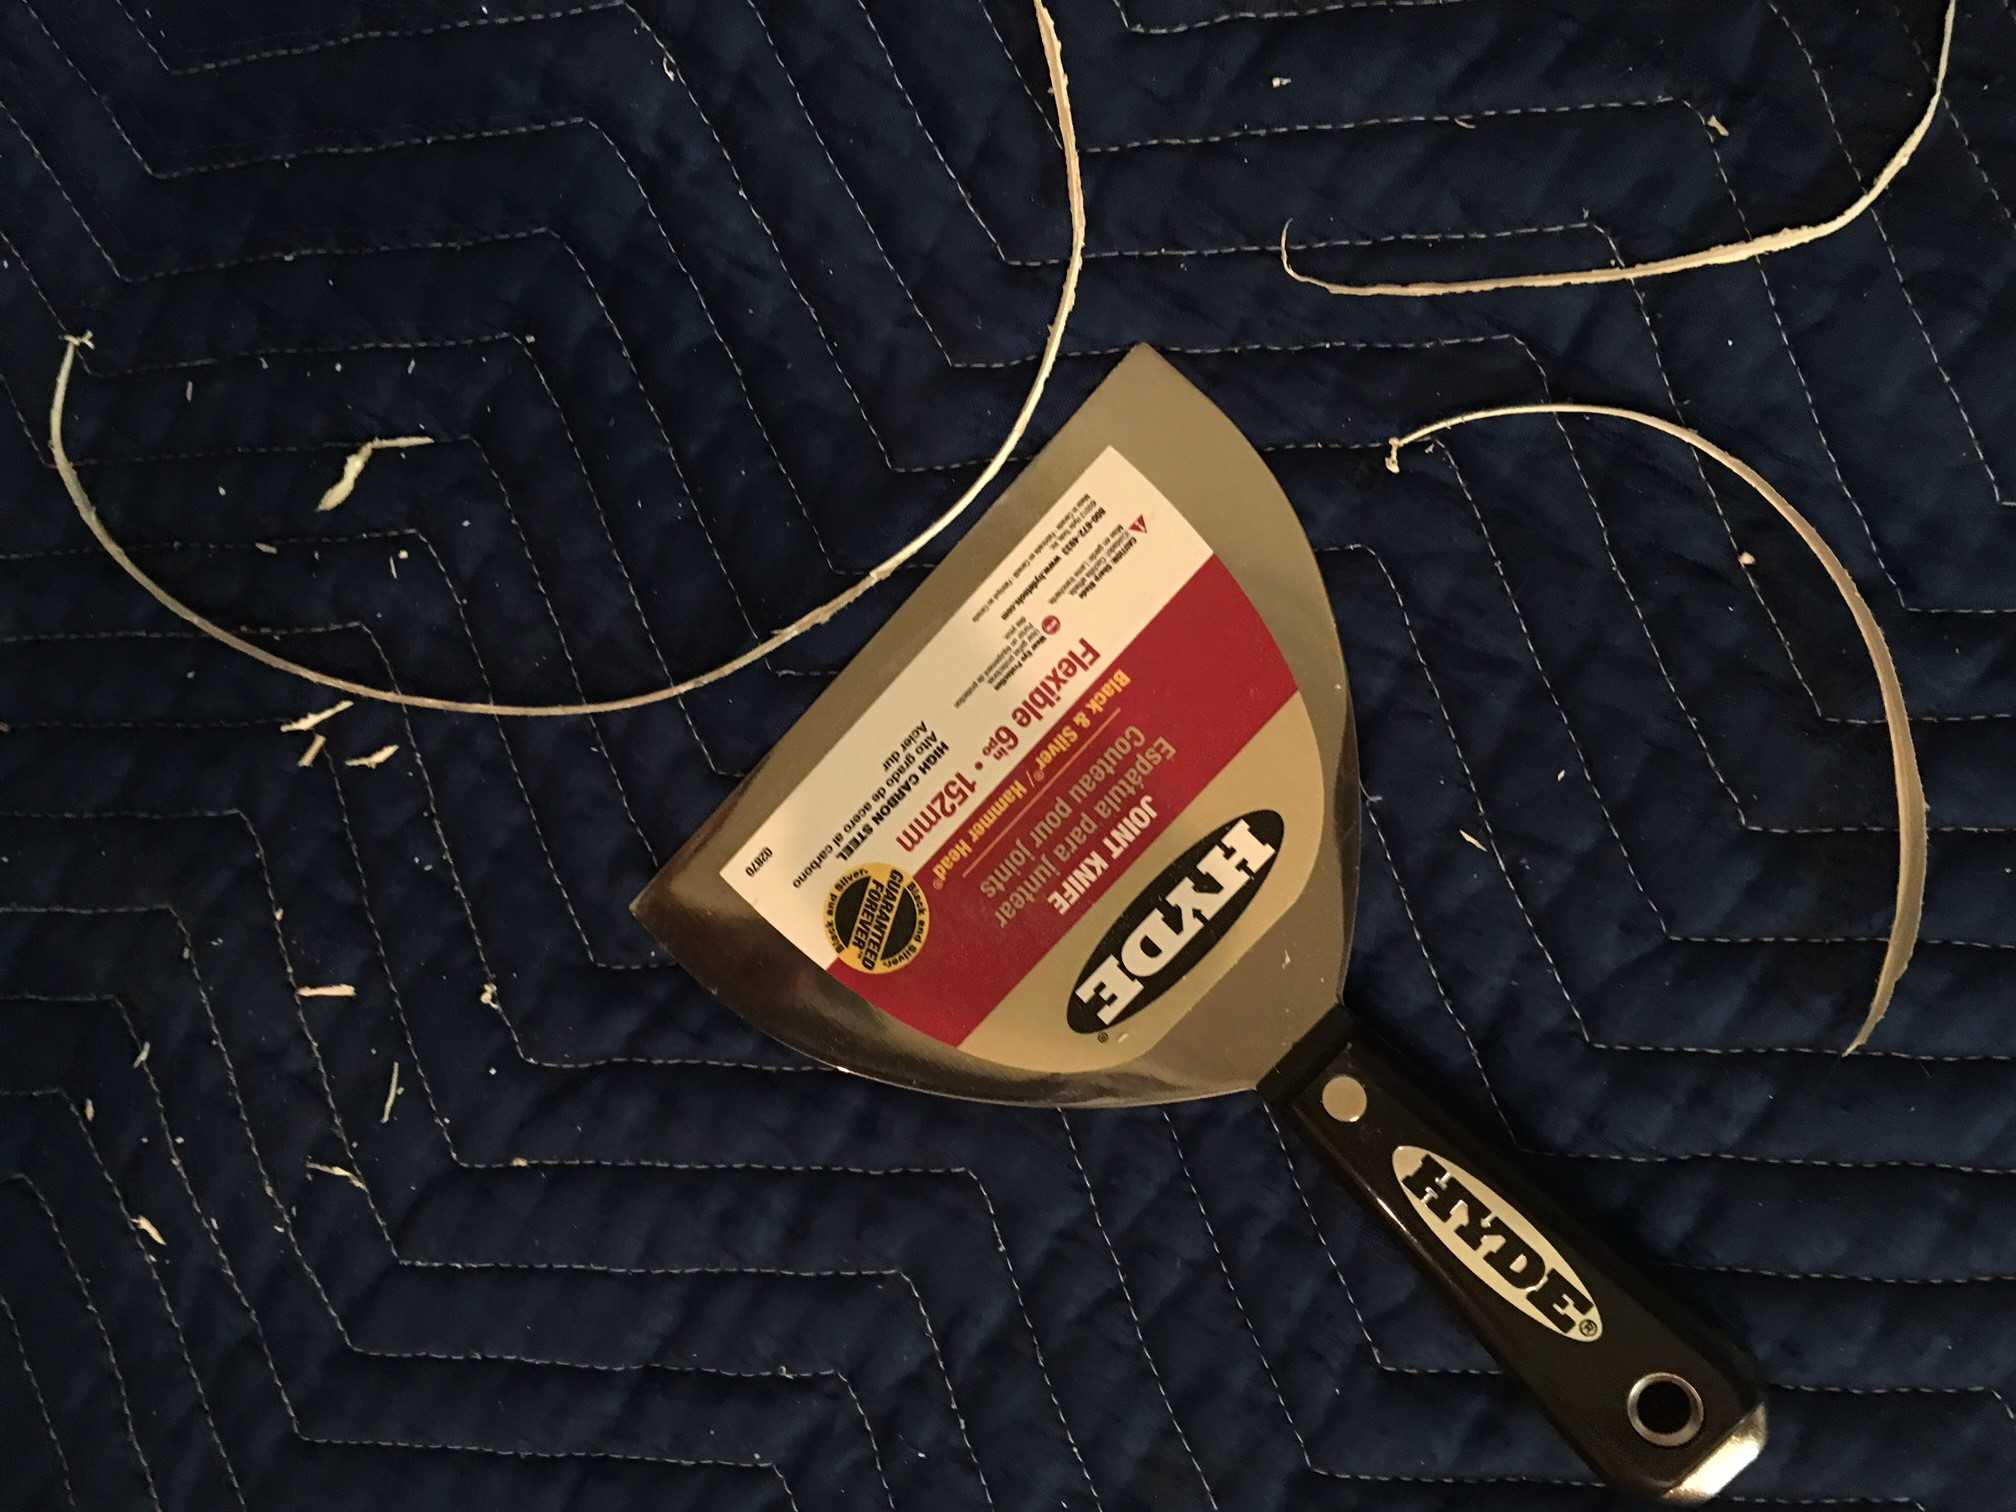
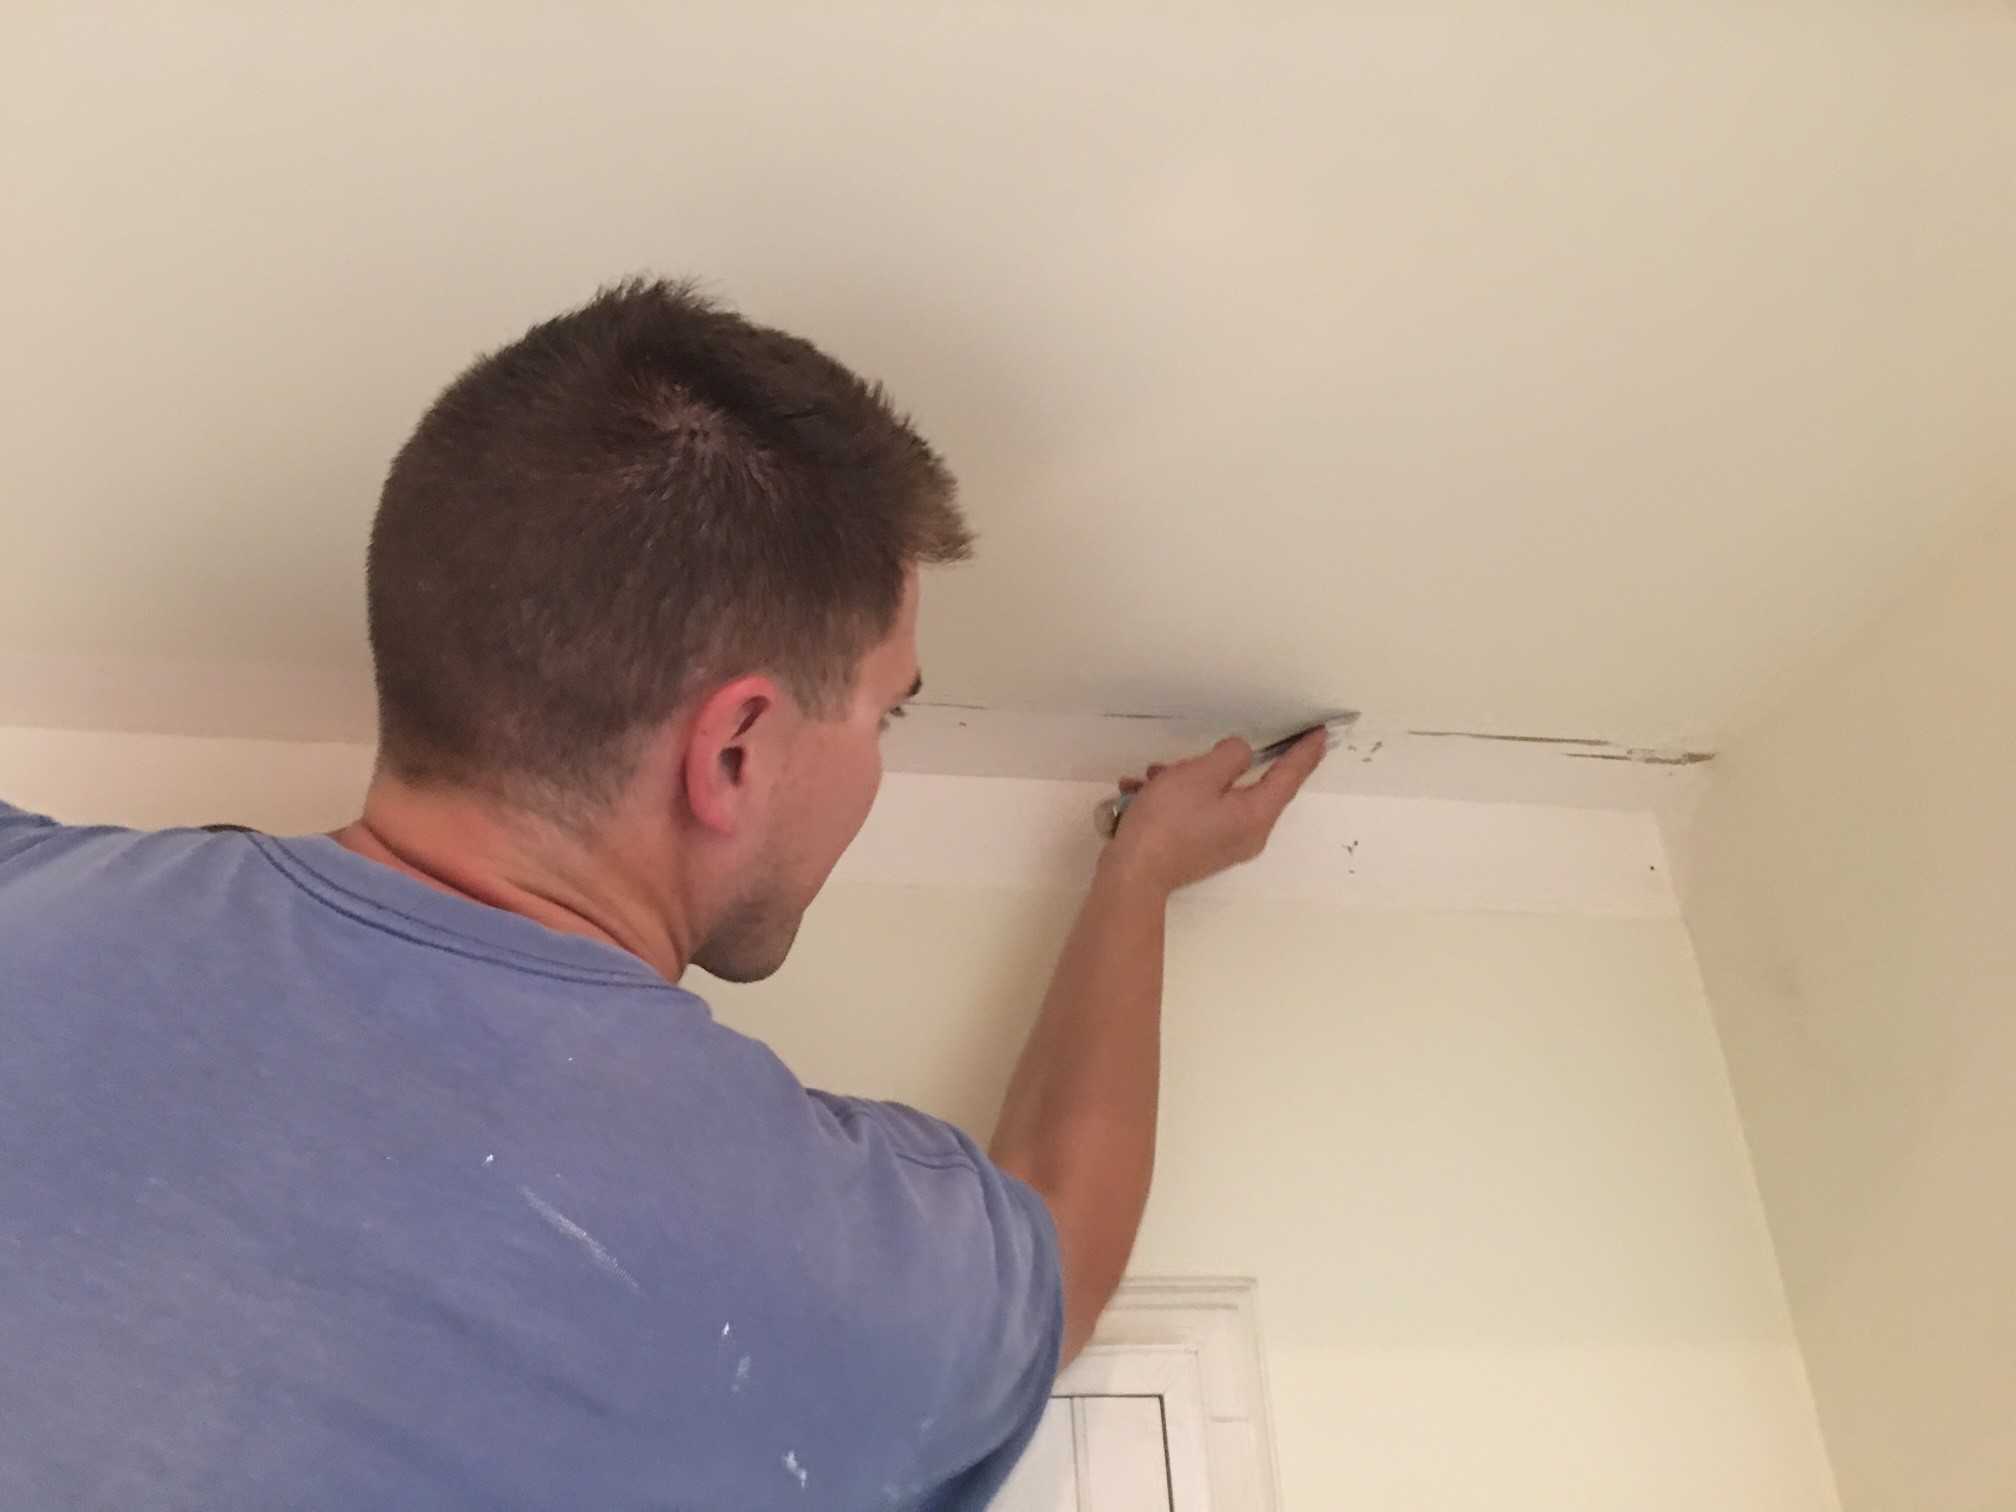
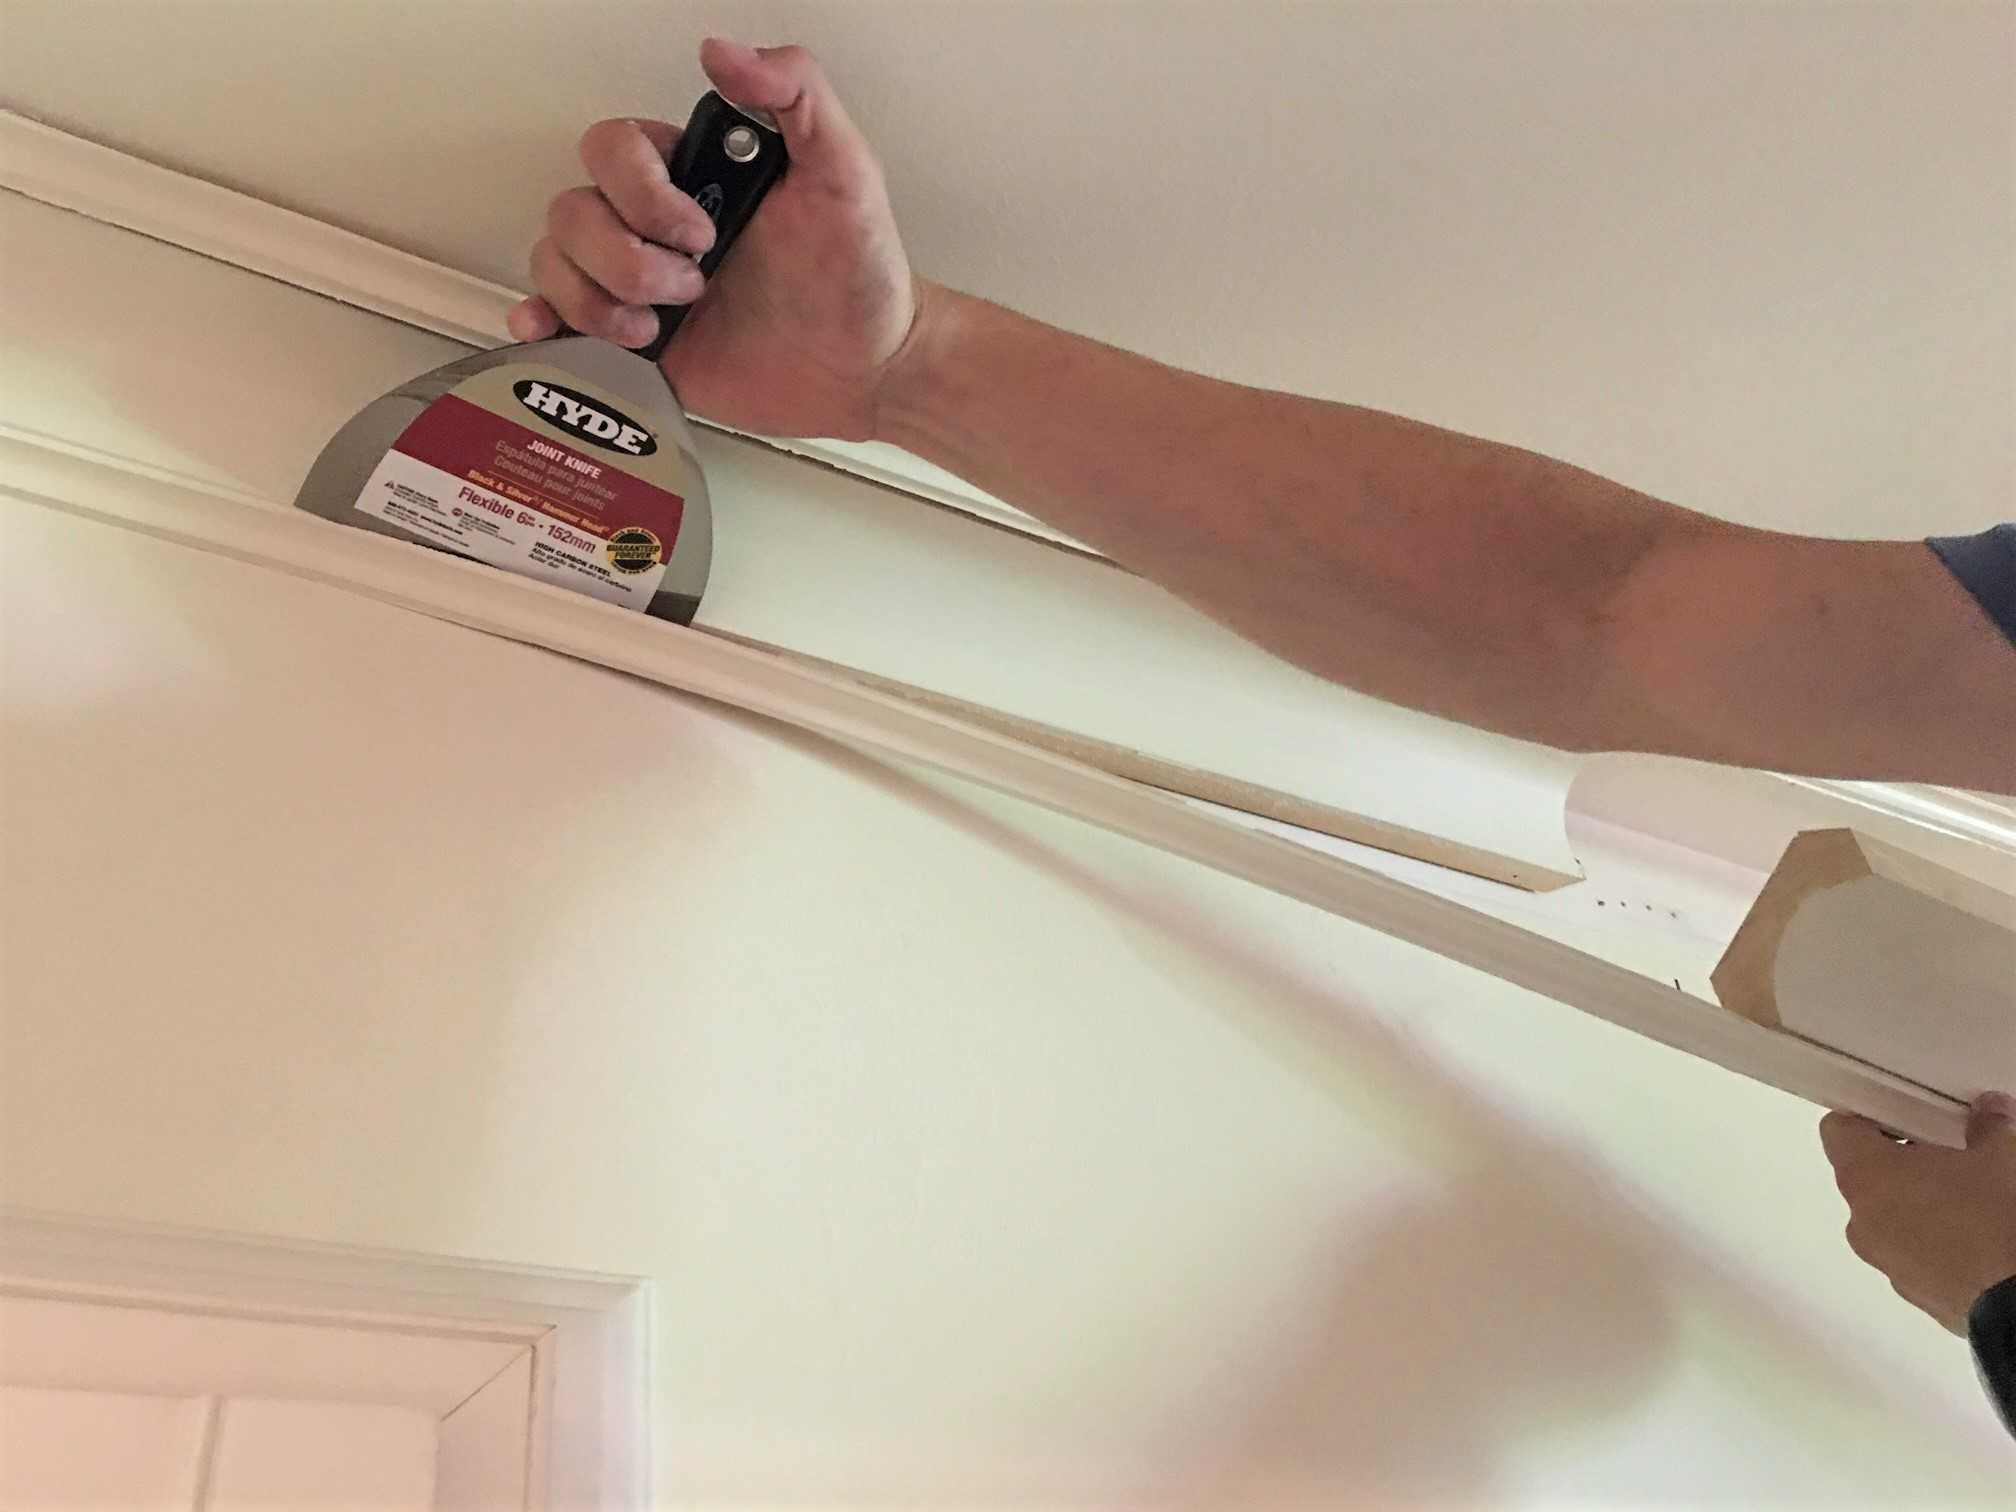
Our first step was to bring in our resident handyman, Rob, to remove the existing molding and canopy. To minimize damage to the structure, Rob used a 6” Joint knife from our friends at Hyde Tools to steady the removal peel back the molding, and scrape off any residual cackling from the previous installation. Luckily the wall itself was in good condition and we only needed to patch in a few nail holes.
Here are a few simple steps you can follow for any dry-wall patch job:
After removing nails, you can begin to prep the area using Hyde Tool’s Dust-Free Sponge Sander. This handy gadget makes indoor projects so much tidier by eliminating fly-away debris from your sanding project. Simply attach the hose to your vacuum hose and it will catch dust while you sand and smooth the wall.
Once the area is smooth, apply a generous amount of spackle or wall joint compound to the affected area. Glob on enough to fill the hole, then using a putty knife, scrape away the excess, leaving the surface flat and smooth. We used Hyde Tool’s 1 1/2” Stainless Steel putty knife to get the job done. Let the putty dry and you’re all set!
Now, who’s ready to tackle their next DIY job?!