

As we near the holidays, I begin some small and easy home projects to freshen up areas that I know guests will be utilizing. It’s also a great way to get a jump on projects for the new year, inspiring you to redo more once you see how fantastic one small change makes a space feel. This last weekend we partnered with Hyde Tools to do the most simple and yet utterly satisfying bathroom project: recaulking your bathtub and/or shower.
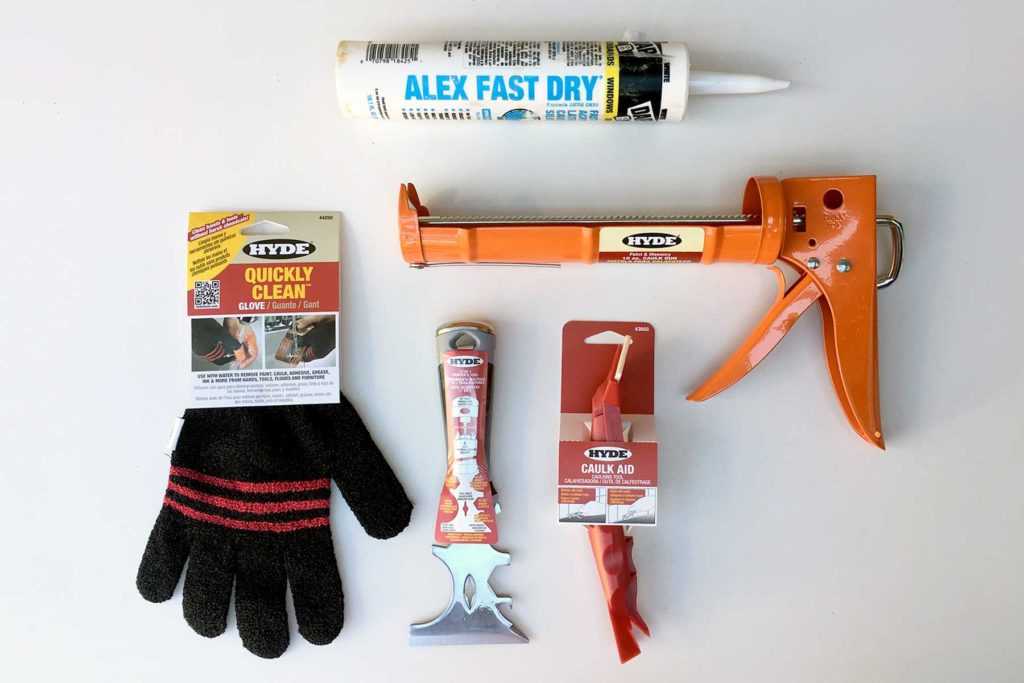
We used products from Hyde Tools that are designed to make the DIY process so very simple. The things we used for this easy home project are:
- Caulk of your choice
- Hyde Tools Skeleton Frame Hex Rod Caulk Gun
- The Hyde Caulk Aid multi-purpose tool
- Hyde Tools 17-in-1 Painter’s Tool
- Hyde Tools Quickly Clean Glove
- A wet sponge
- Newspapers for easy cleanup
- Mineral spirits or white vinegar
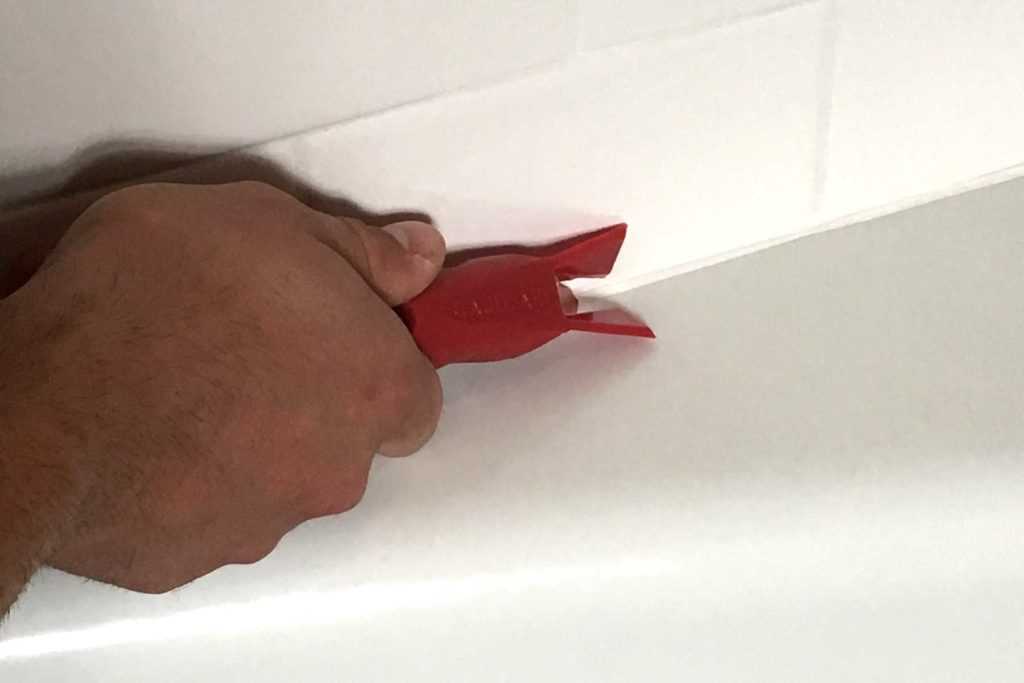
The first step is to remove all of the old caulk and mold or mildew that might be present. Using the pronged end of the Hyde Caulk Aid tool, we scraped out all the old caulk. Using the middle prong to dig down into the old caulk and apply a little bit of pressure. We also used the 17-in-1 Painter’s Tool from Hyde for some of those hard to get areas. You can use some mineral spirits or white vinegar to help get any little extra bits off that didn’t come out right away with the tools. Clean the area you’ll be applying fresh caulk to and make sure it’s dry.
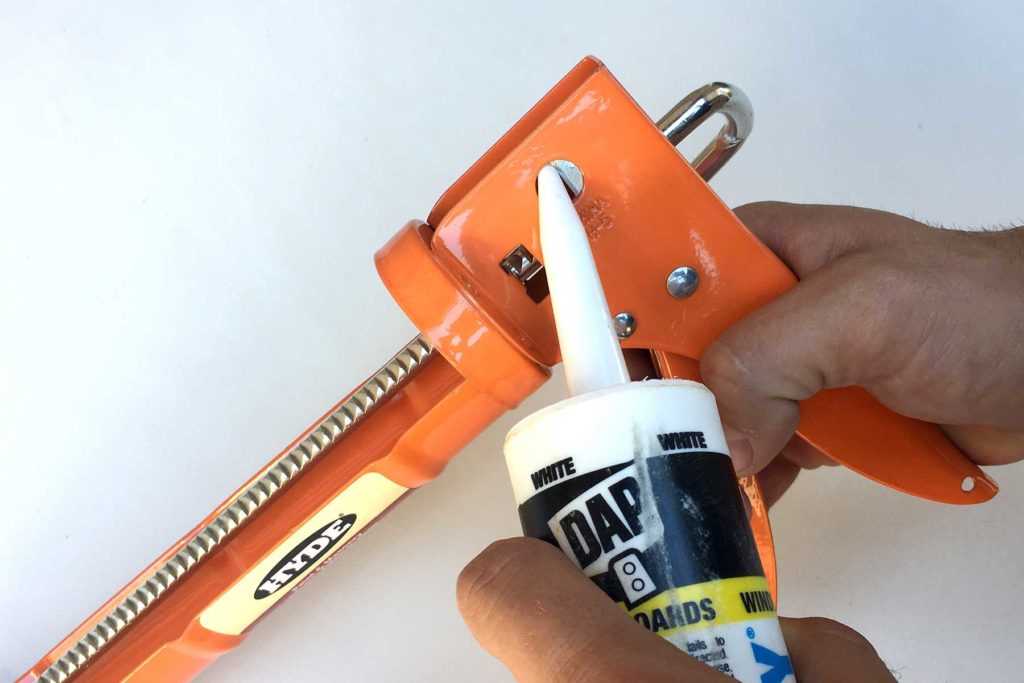
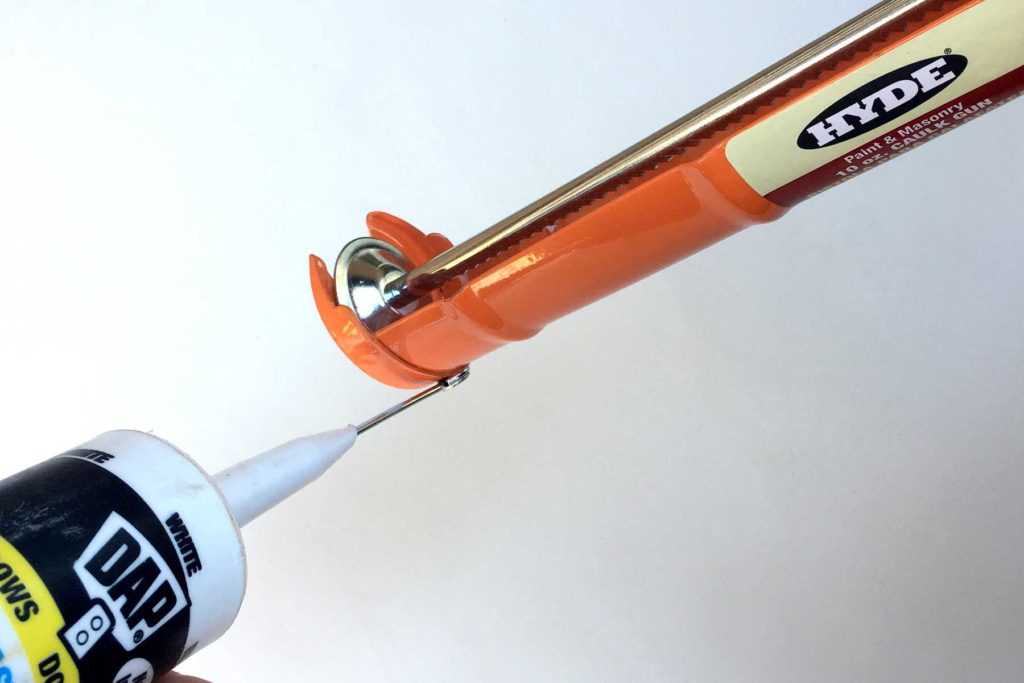
This Hyde Tools caulk gun is designed built-in spout cutter, seal puncture tool, and quick-release thumb lever. You can clip off the tip of your caulk tube and clear it all with this one tool. The quick-release thumb lever helps you to get a nice even bead of caulk. Go slowly and practice a few beads of caulk or silicone on newspapers.
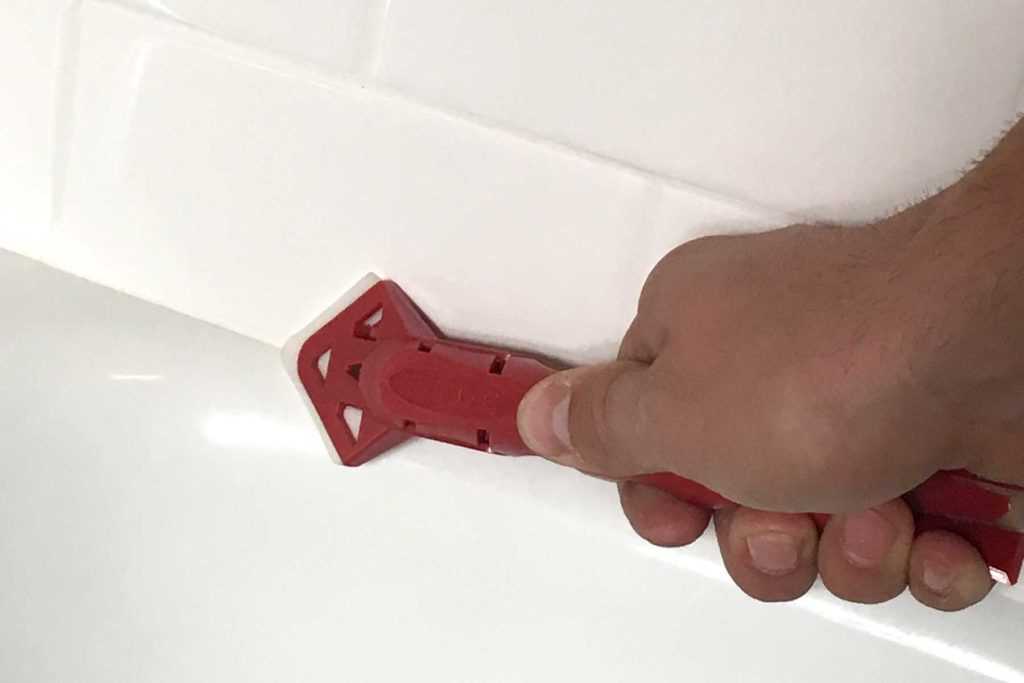
Once your bead of caulk is in place, use the other side of The Hyde Caulk Aid tool to smooth the bead down into a nice flat beveled edge. Move along in one fluid motion and wipe excess off your tool onto a wet sponge. Work on one section at a time, corner to corner, to ensure a clean and professional look.
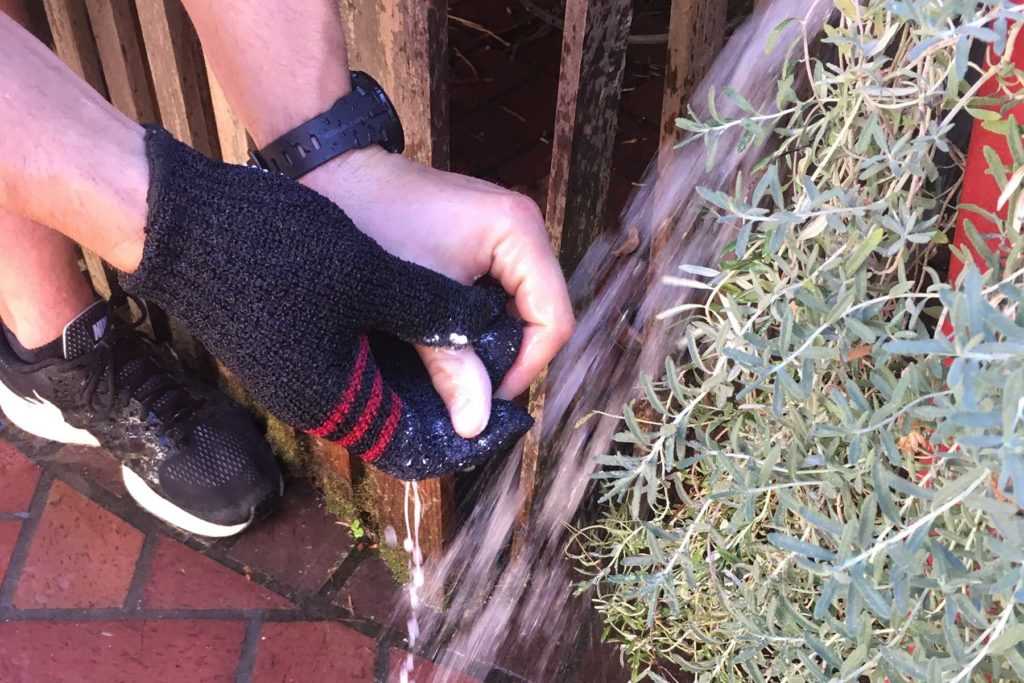
When it’s all time to clean up your tools (and maybe your fingers) slip on the Quickly Clean Glove from Hyde Tools. It’s truly the easiest way to clean. It was developed by a house painter and so this glove removes oil-based paint, caulk, adhesive, grease, dirt and grime, using nothing harsher than plain water or mild hand soap.
I’m glad this project was so easy because it makes such a great impact on the overall look and feel of the shower. Now we’re one step closer to having our home fresh and ready for holiday guests!